Installation of the demo system
There are two different installation instructions available. The first refers to servers on which TYPO3 must be installed manually. The second refers to hosters who offer to install TYPO3 by click.
1. Download
Download the TYPO3 core and unpack it at the desired location. If a patched TYPO3 core is included in the download folder, it is recommended to use it. But do not install it.
2. unpack the template archive
Unzip the zip archive "t3bootstrapX_XXXXXX.zip" into this directory.
Unzip the file "dump_t3bootstrapX_XXXXXX.zip" and import the sql file into your database.
3. Adapt configuration files
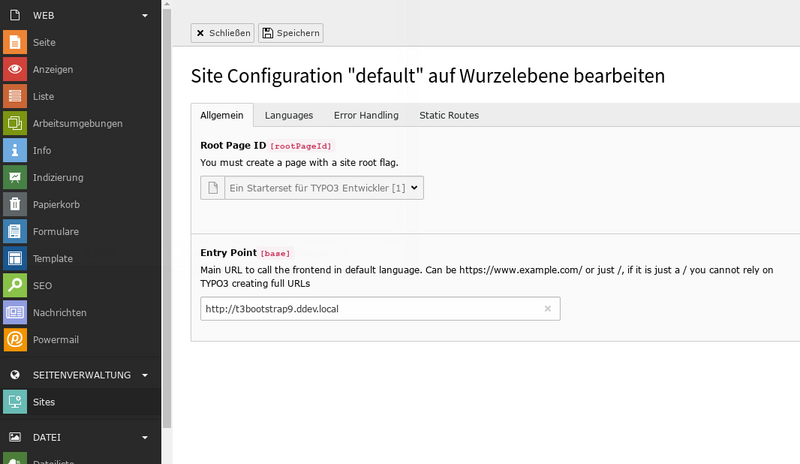
Adjust the LocalConfiguration.php file in the typo3conf folder by entering the access data of your database and the site name.
4. Call up the Install Tool
Call the Install Tool via <your domain>/typo3/install.php and check the configuration. It is possible that your web server requires a different file permission to create files and directories.
Important: First rebuild the autoload files using "Rebuild PHP Autoload Information". Empty the TYPO3 cache using the install tool.
Set a new key for your system under "Settings" -> "Configure Installation-Wide Options" at [SYS][encryptionKey].
2. Unpacking the Template Archive
First unpack the zip archive "t3bootstrapX_XXXXXX.zip" locally. Copy all folders except the typo3conf/LocalConfiguration.php file to the server.
Unpack the file "dump_t3bootstrapX_XXXXXX.zip" locally. Go into the database via the administration menu of your hoster with phpmyadmin and delete all data. Then import the unzipped sql file into your database.
4. Launch the Install Tool
Call the Install Tool from the URL http://<your-domain>/typo3/install.php . Check the configuration. Your web server may require different file permissions to create files and directories.
Important: First rebuild the autoload files using "Rebuild PHP Autoload Information". Empty the TYPO3 cache using the install tool.
Set a new key for your system under "Settings" -> "Configure Installation-Wide Options" at [SYS][encryptionKey].
7. Save extension settings
Go to the extensions list, to the calendarize extension settings and save them once.
8. Completion
Now you should be able to access the TYPO3 website in the frontend under your domain.
Don't forget to switch off the development mode in the install tool for productive use.
Remove unused extensions, files and pages. Clean the system from deleted items.
Remember to set up backend users correctly, change passwords, and shut down unnecessary users.
To create your own project based on the template, I recommend to modify the extension demotemplate. This project is not designed to allow you to update the bootstrap and template files always and continuously, because they will eventually be modified by you. Furthermore, there will be changes in the extensions or SCSS files from time to time, which will then be incompatible with your version.
Of course you can install the security updates of the TYPO3 core and extensions.
Translated with www.DeepL.com/Translator (free version).
Manual Installation
You can also install the template without dump. However, this has the disadvantage that the page structure, templates and element demos must be created manually.
Step 1: Install TYPO3 as usual on your server.
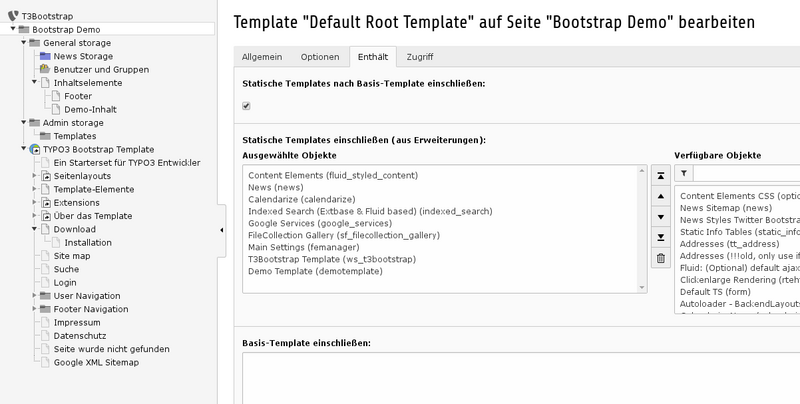
Step 2: For a minimal installation of the template you have to take the following extensions from the archive, copy them into the ext directory and activate them in this order:
- flux
- vhs
- ws_t3bootstrap
- demotemplate
- ws_scss
- templatemaker (if you want to rename the demotemplate)
All other extensions are optional.